Just What the Heck is the Exposure Triangle?? (Updated)
Those who understand the exposure triangle have greater photographic creativity, no longer fear the dreaded ‘M’ mode, wake up earlier, gain respect from their children, can run faster, and are guaranteed to regrow years of lost hair! Well, maybe not quite all that.
Before we can begin to discuss the exposure triangle, we must first understand how a camera gathers light. At its most basic form, a camera consists of an opening that allows light to pass through and a plane onto which that light falls. If you are familiar with pin-hole cameras, these are prime examples of a simple camera. Even modern cameras with interchangeable lenses and multiple recording modes still work in much the same way.
Cameras operate under much of the same principles as your eyes. Your eyes have a lens that gathers light, an opening (the iris) that lets the light pass through, and a spot in the back (the cones and rods) where the light is focused and an image is formed. Your eyes react to light dilating the iris to adjust the amount that passes through and thus letting you see what is before you clearly. Think of when you have walked into a dark room or gone outside on a sunny day and can’t see for a few moments until your “eyes adjust.” This adjusting is your eyes working to let the proper amount of light through giving you the greatest amount of detail and clarity.
When we talk about exposure in photography, we are talking primarily about three distinct components to a camera. These parts consist of the aperture, the shutter speed, and the ISO. These three settings work together much like your eyes to capture the light coming in through the camera’s lens and focus it on to the film or sensor where the image is captured. Learning what each of these elements do and how each affects an image will increase your ability to create images.
Let’s start with aperture. This is the iris within your camera’s lens system that controls the amount of light passing on through. This iris most often is a mechanical series of overlapping “leaves” that physically increase or decrease an opening (it may be a digital system compensating for a fixed opening such as found on some mobile phone cameras but the core understanding remains the same). The size of the opening is measured in what are called f-stops. And, while the f-stop numbers do have significance as being a ratio between the opening size and the lens size, what you need to know right now is that the bigger the number the smaller the opening. So, an f-stop of f22 is significantly smaller than the opening of, say f4.
As one would expect, the larger the opening the more light is going to pass through. This ability to adjust the amount of light getting to the sensor becomes increasingly important as the environment’s light changes. Say, for example, you’re attempting to catch all the colours of an evening sunset. As the sun lowers and daylight diminishes, opening your aperture will allow more of the remaining light to pass through your lens allowing your camera to expose the image.
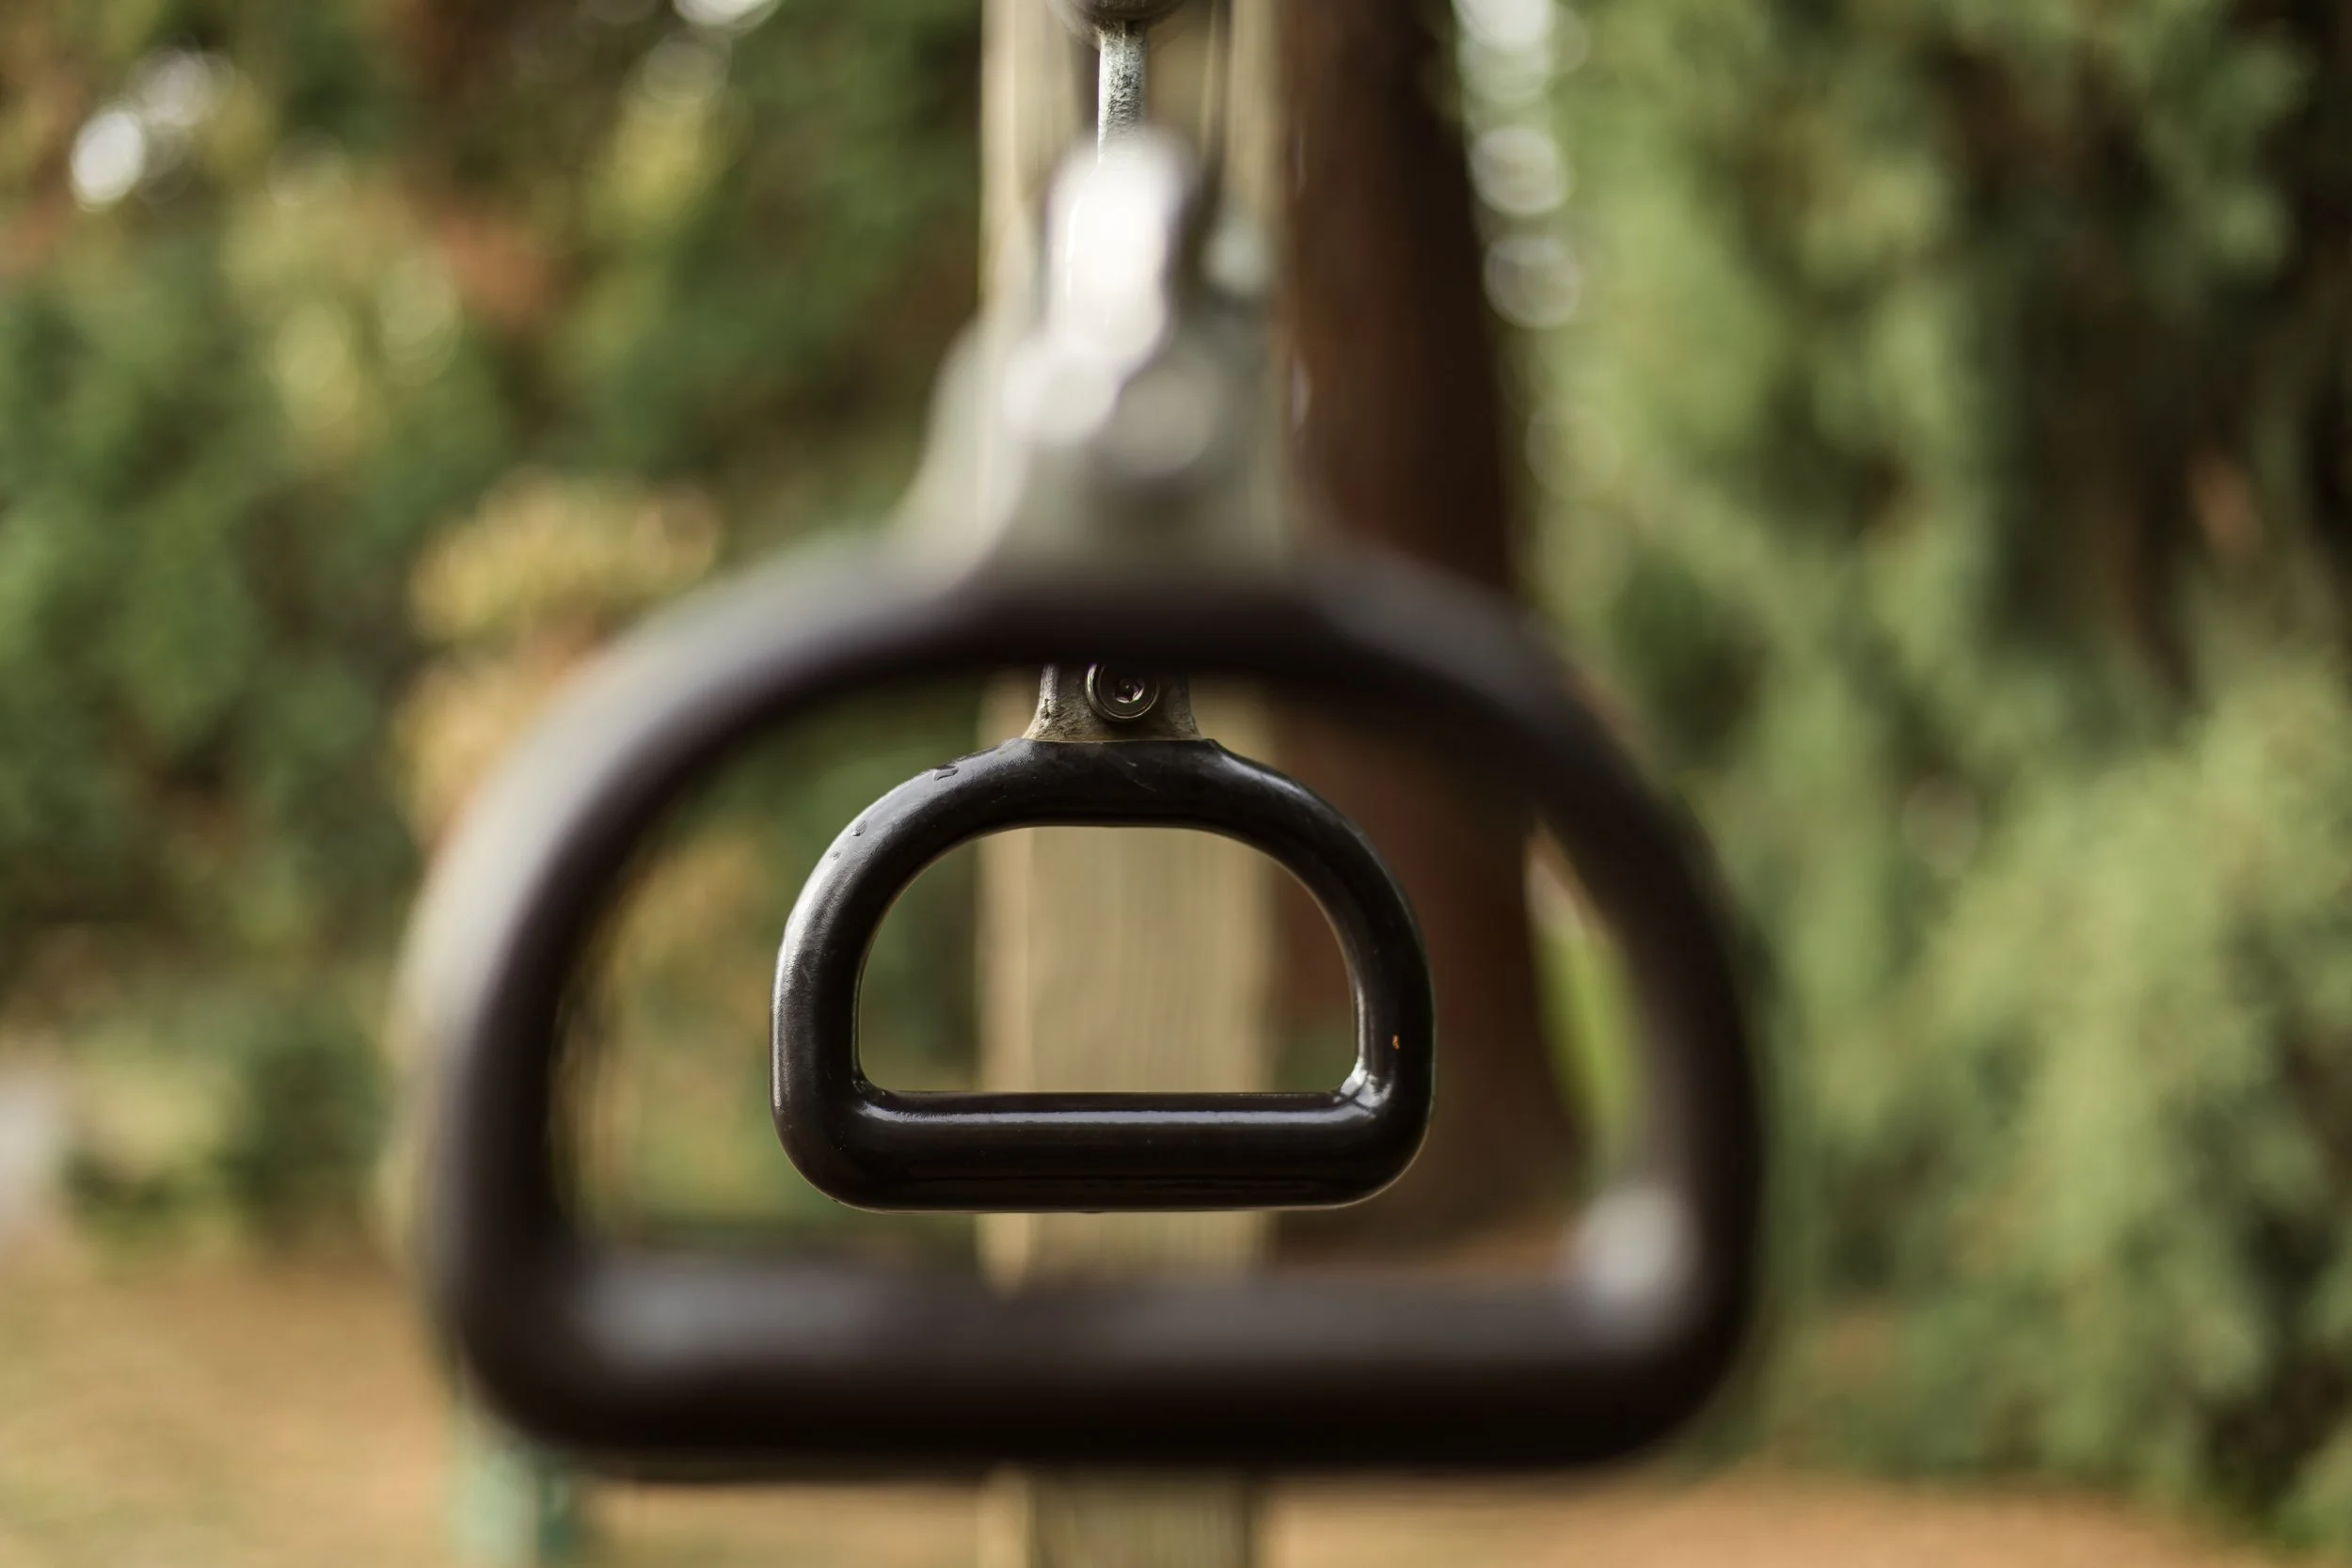
Now before you decide to just take every image with as large of an opening as you can, aperture has a secondary impact on your images. The size of this opening also has a direct relationship to how much of your image is in focus. The larger the aperture opening (the lower the f-stop) the shallower the range of depth that will be in focus. This is called depth of field and can be used to create wonderful images that creatively blur the background from the subject, referred to as bokeh. Conversely, decreasing the opening expands that range to where the ground a few feet in front of the camera can be just as sharp as the mountains miles away. Both your lens and your eye can only focus on a limited range of distance at any one time. While your eye can change focus so quickly as we look about that we rarely notice when something is out of focus, the camera will maintain a focus point when capturing an image so we as the observer can see more clearly the areas outside this focal plane.
Starting to see the challenge? Let’s move on to the shutter speed.
Shutter speed is comparatively simple to aperture. It is quite simply the speed, measured in seconds (and fractions of seconds!) at which the shutter opens and closes again exposing the sensor to light. Think of this like opening the blinds of a window and quickly closing them again. As you have probably guessed, this has an impact on the exposure as a slower shutter speed (the shutter is opening longer) will allow more light to reach the sensor. In our sunset example from earlier you could set a longer shutter speed, let’s say 3 seconds, to let more light in getting you the shot you want. Comparatively, a bright, sunny day would need speeds of 1/250 of a second or faster! If that’s a bit muddy, think about it as herding cats in from the rain; the longer you hold the door open, the more cats (and rain) will make it through one at a time, shorter time open and those cats must all enter together. However, shutter speed also has a secondary effect on images and that is motion blur.
Motion blur is the result of something moving across the frame faster than the shutter activates, essentially allowing the sensor to record that element over a range of space in one frame. As an example, if you were to take an image of a tree and keep the shutter open for 3 seconds, well, the trunk isn’t going to move so it will be sharp but, those leaves blowing in the breeze are in many places over those three seconds. And since a camera is creating a single image, it captures those leaves in ALL the places they are during that time in that one image. When you think about it, a camera is compressing a span of time into a single frame. But, if you were to use a fast shutter speed, let’s say 1/250 of a second, well, those leaves will hardly have moved in that short of a time span and your image will likely be quite sharp throughout.
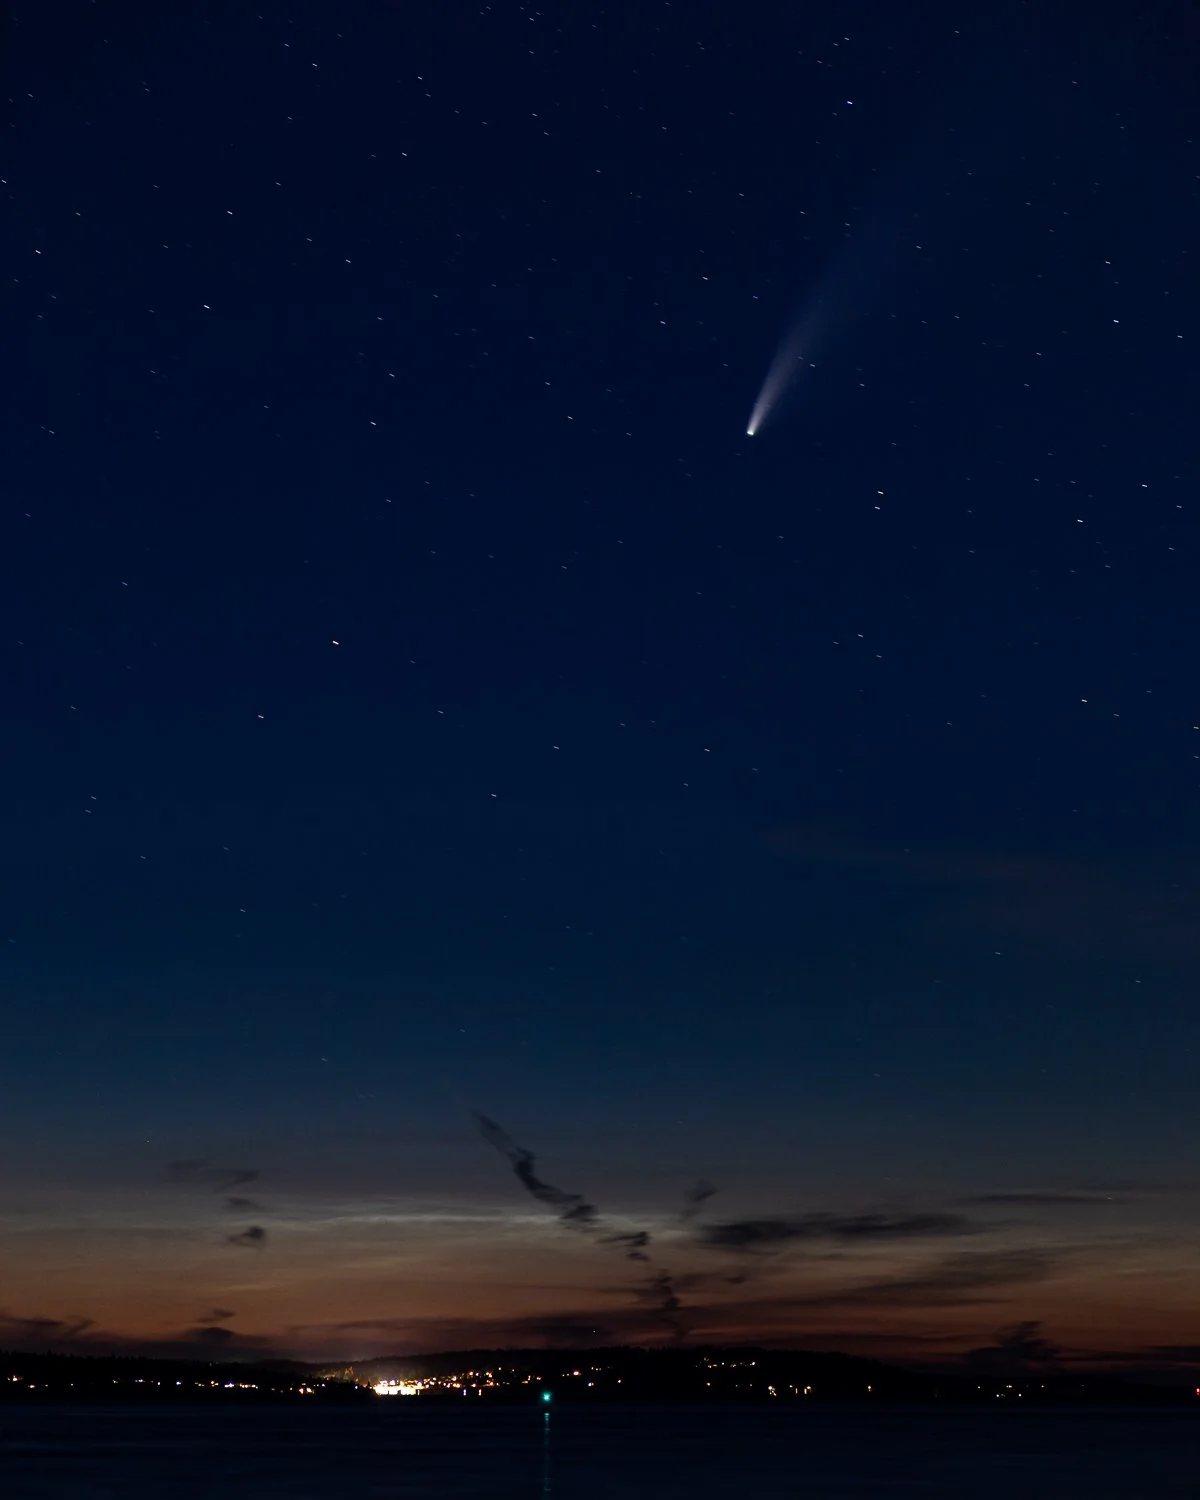
This technique can be quite useful in making flowing water seem smooth or blurring the background as a race car speeds by. However, when unwanted motion blur is captured, it can become a distraction from the image you are trying to create. Birds flying across our sunset scene would become blurred lines in the sky. Now, it is possible to have your shutter open so long that moving objects are effectively erased from the image through a technique called long exposure photography. However, that is a topic for another time, so I won’t be going into that here. What you need to know about shutter speed is that faster settings will freeze motion more while limiting the cameras ability to gather light and slower settings will blur moving objects but let more light in.
Is your head spinning yet? Don’t worry, we’ll connect everything in the end and hopefully it will all start to make sense. Now, on to ISO.
The International Standards Organization (ISO) is an industry scale to measure film’s sensitivity to light. ISO is notated in a numerical form that typically doubles as it increases in sensitivity. For modern cameras the scale typically starts at 100 (although some do go a bit lower) and moves up through 200, 400, 800, 1600, etc. By increasing the camera’s sensitivity, less light is needed and images can be created in lower lighting conditions. Brighter scenes with plenty of available light wouldn’t need increased sensitivity and would therefore use a lower ISO. While ISO for film refers to the sensitivity, digital cameras accomplish this more or less by amplifying the power to the sensor.
The technology in modern digital cameras has greatly increased the usable ISO range. Why do I say usable? Because, as the amplification increases the clarity of the image decreases as noise becomes present in the images. This is rather like picking up an electric guitar, turning it up to 11, hitting that sweet power chord, and being blown back like Marty McFly to the distorted, feedback cacophony of noise. High ISO also has another minor drawback in that it becomes harder to capture the full colour range in the light. Again, technology has combatted this with great success but there can be a loss of tones on the red end of the spectrum (the slower wavelengths) with high ISO.
It is now that we find ourselves armed with just enough information to stare paralyzed before the next scene we want to take a picture of. You’re now thinking about the light, depth of field, motion blur, image noise, meowing cats, and a souped-up Delorian. Good! (Mostly) Do you open the aperture and risk losing the shape of the mountains in the background to depth of field? Will your nephew hold still long enough to get a clear image with a longer shutter speed? Or do you need to push up the ISO and hope technology can clean it up later? If the image is exposed properly but, I have to change a setting, which of the other two do I change to compensate?
So, hopefully you’re starting to see what goes into properly exposing the sensor for the composition you wish to photograph. And, you should be starting to see how these three adjustments both work together and how changing one can affect the others. A photographer is always thinking about what they want in the final image and making exposure settings based on that desire. Getting proper exposure is kind of like a 3-way teeter totter, adjusting one element means adjusting another to keep in balance. To really master an understanding of this takes experimentation and practice.
What I recommend is taking multiple pictures of a scene while adjusting only one parameter at a time. Find a place with consistent, stationary light to take a series of pictures. Keep everything outside of the camera the same and go through the range of each point in this triangle. See how the images increase in brightness as you open the aperture but also look at how the foreground and background begin to blur. Do the same with ISO and shutter speed. Admittedly, you’ll want to experiment with something moving to really see how motion blur is recorded but, you’ll get the idea. If you need a starting point, take your first image with your camera in full Auto mode and look at what those settings are. Duplicate them and start your journey. When you’ve done this, be sure to look at the images side by side on your computer screen. Really dig into them, zoom in and see when you lose detail and at what point do you no longer think it’s sharp. Digital images record in their files all the settings so you can go back at any time to these reference pictures and recall what your settings were.
You aren’t going to make any art to hang on your walls doing this practice but, it’s from this practice that you will make art to hang on your walls.
Photo Class Courses - YouTube
During the pandemic I made simplified videos to help communicate the principles of exposure. This is an ongoing project and a place for all (including myself) to continue learning.
Enjoy. Ask questions. Comment. Create your own art.


